10 Simple Bread Baking Tricks Every Home Baker Should Know
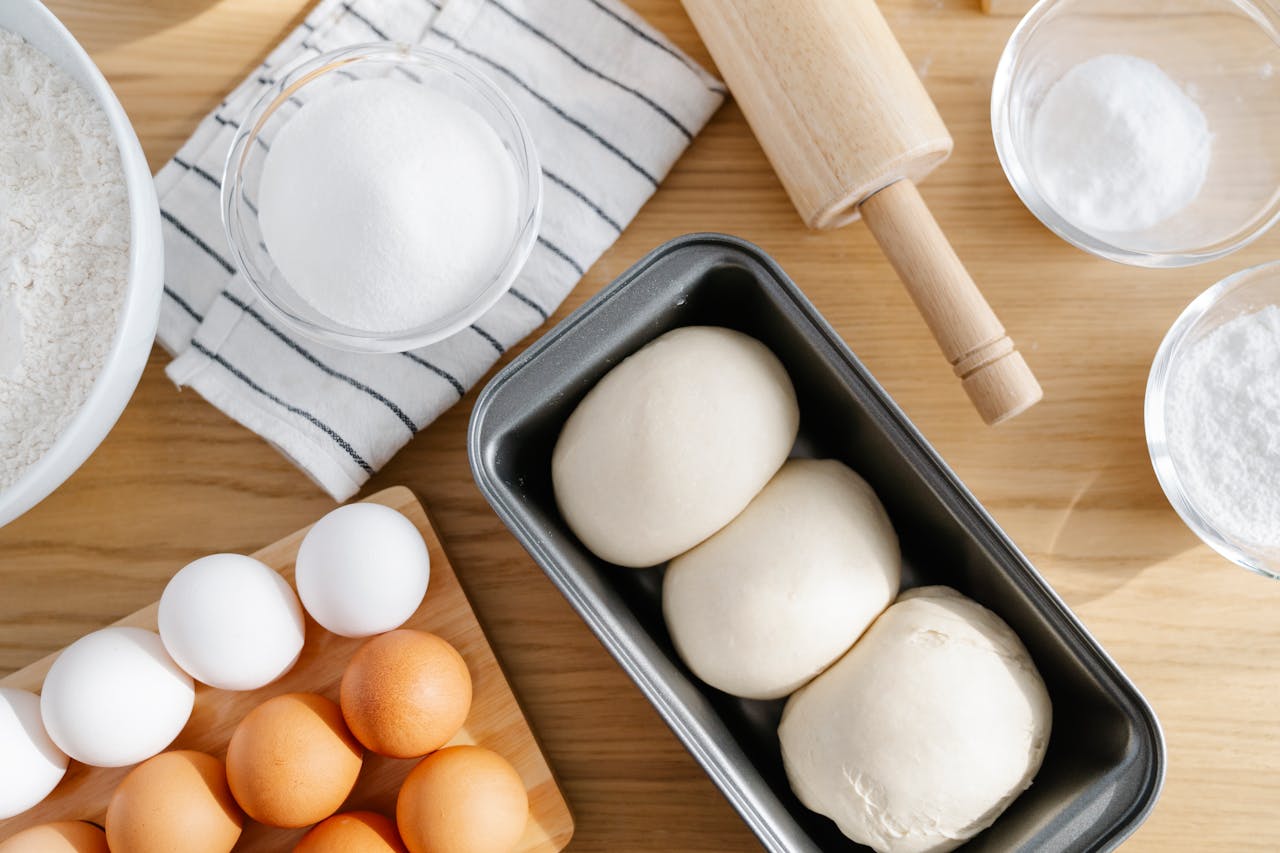
Baking bread at home is one of the most satisfying experiences. The aroma, the crispy crust, the soft and chewy interior—there’s nothing like freshly baked bread straight from your oven. However, the process can sometimes feel intimidating, especially if you’re just starting out. Fear not! With a few simple bread baking tricks, you can elevate your bread-making skills and achieve perfect loaves every time. Whether you are a beginner or an experienced baker, these 10 tips will help you bake like a pro.
1. Use the Right Flour for Your Recipe
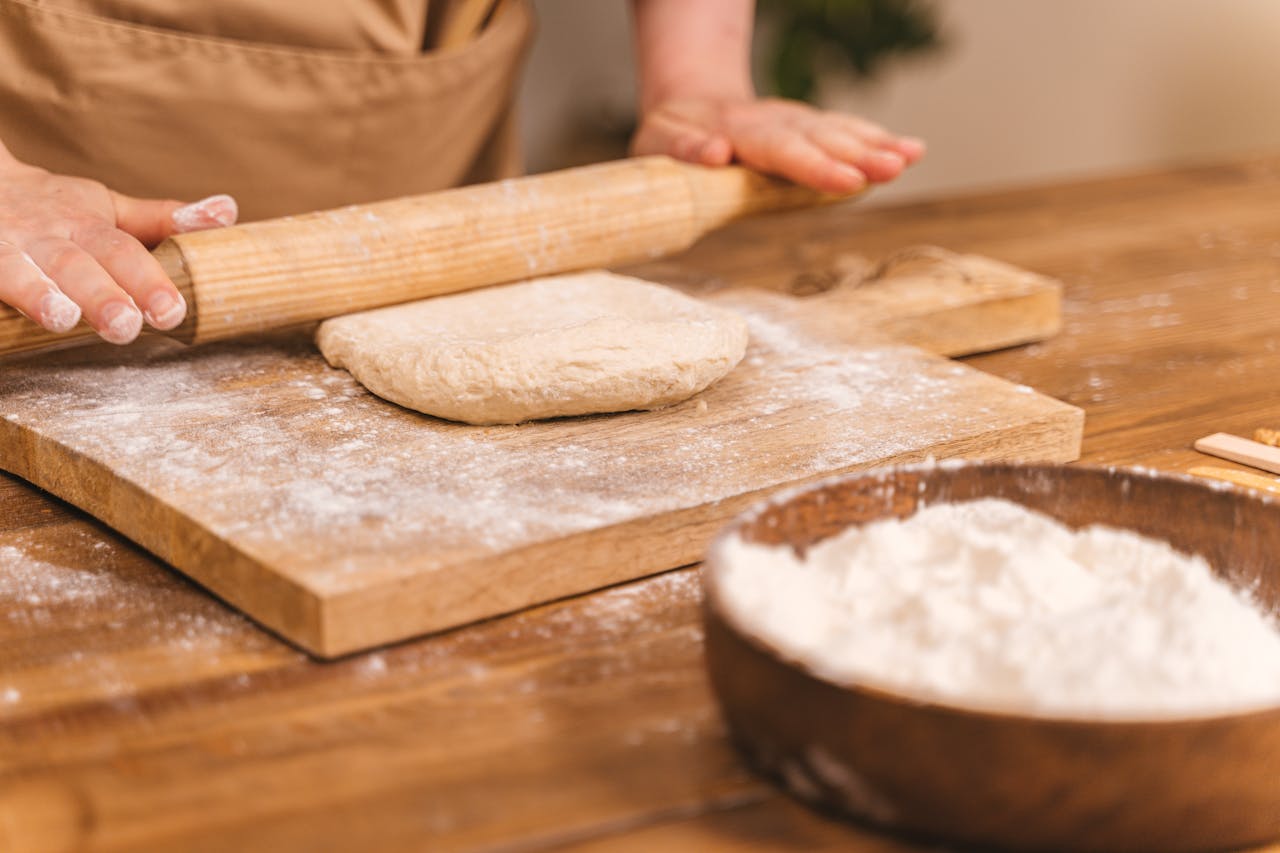
Choosing the right flour is crucial for the texture and structure of your bread. Bread flour, which has a higher protein content than all-purpose flour, creates the perfect gluten structure for chewy, hearty loaves. If you’re aiming for a softer bread like brioche or dinner rolls, all-purpose flour can do the job, but for artisan loaves like sourdough or baguettes, bread flour is ideal. Always measure flour correctly by spooning it into the measuring cup and leveling it off for accuracy.
2. Invest in a Kitchen Scale for Accurate Measurements
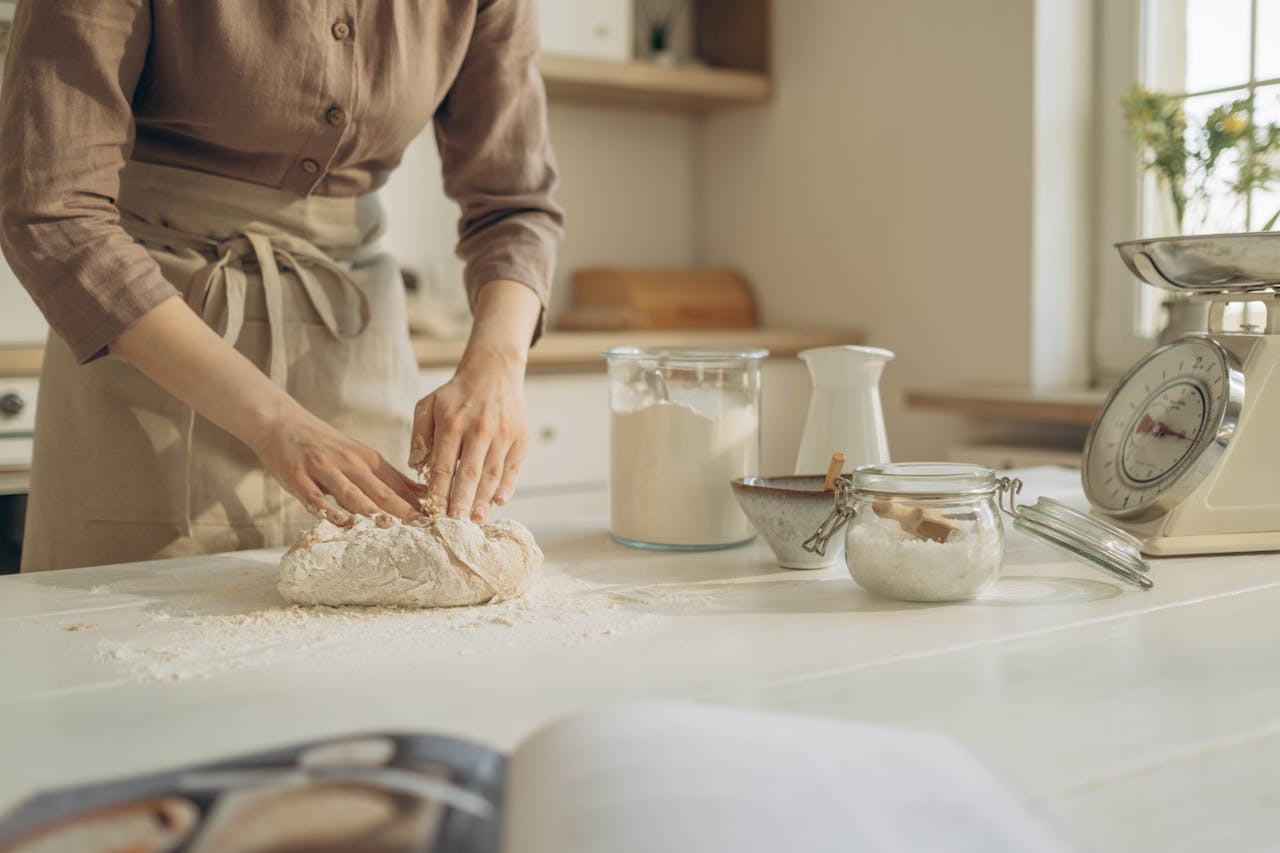
While using measuring cups works fine, a kitchen scale provides the most accurate measurements, which is critical when it comes to baking. Flour can vary in density depending on how it’s scooped, which could lead to inconsistent results. By weighing your ingredients, you ensure that your dough has the right consistency. Aim for 500g of flour per loaf and adjust other ingredients proportionally. This small investment can take your baking to the next level, ensuring your bread turns out perfectly every time.
3. Don’t Skip the Resting Time
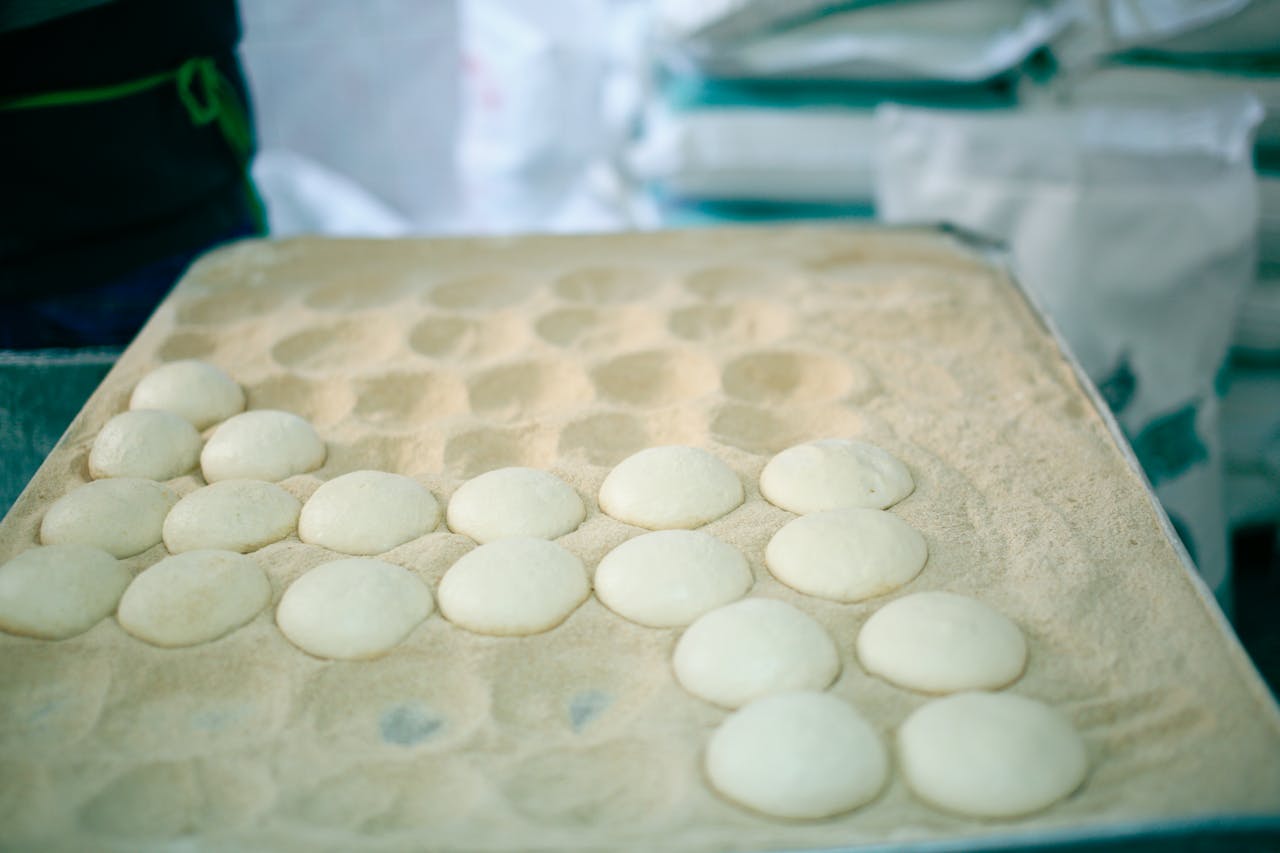
Patience is key in bread baking, especially when it comes to allowing the dough to rest and rise. After mixing your dough, let it rest for at least an hour, or until it has doubled in size. Resting gives the yeast time to work, creating the air pockets that make bread light and airy. If you skip this step or rush it, your bread will lack the proper texture and flavor. If you have the time, a slow, overnight rise in the fridge will develop even more complex flavors in your bread.
4. Master the Art of Kneading
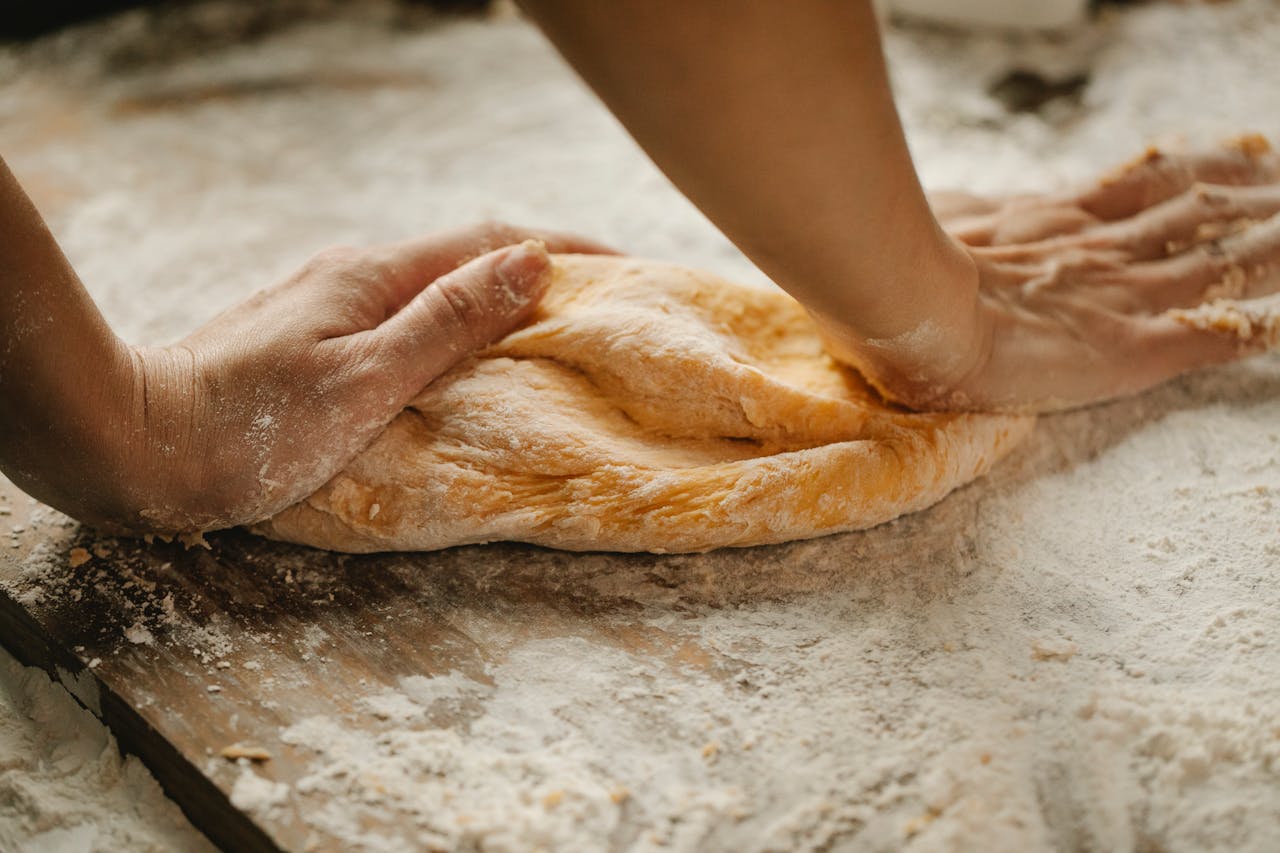
Kneading helps develop the gluten in the dough, which gives your bread structure and chewiness. However, over-kneading can make your bread tough. The goal is to knead just enough to get the dough smooth and elastic. A good trick is to perform the “windowpane test.” Take a small piece of dough and stretch it between your fingers. If it forms a thin, translucent window without tearing, your dough is ready. If it tears, continue kneading for a few more minutes.
5. Use Warm Water, Not Hot

Water temperature plays an important role in the yeast activation process. If the water is too hot, it will kill the yeast; if it’s too cold, the yeast will not activate properly. Aim for water that is warm to the touch, around 100-110°F (38-43°C). This will provide the perfect environment for the yeast to thrive, resulting in a beautifully risen loaf. For extra caution, use a thermometer to ensure the water temperature is ideal.
6. Create Steam in Your Oven

One of the secrets to achieving a crispy, professional-quality crust on your homemade bread is creating steam in your oven. When bread dough hits the hot oven, it needs moisture to expand and rise before the crust forms. A simple way to do this is by placing a pan of water at the bottom of the oven or spritzing the bread with water just before baking. If you have a pizza stone or baking cloche, the steam will be trapped around the dough, allowing it to rise beautifully and form a perfect golden-brown crust.
7. Score Your Dough Before Baking
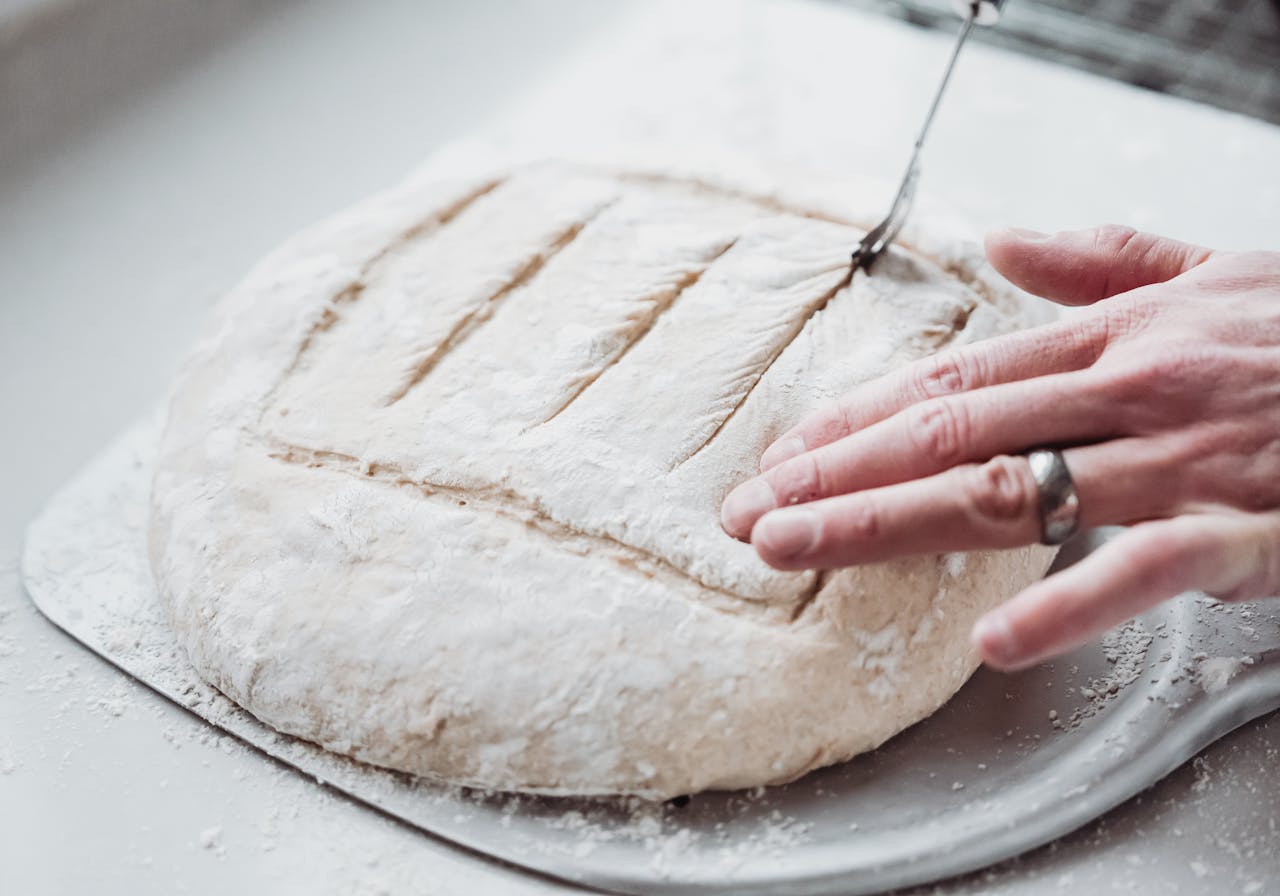
Scoring, or making shallow slashes in the dough, serves both a functional and decorative purpose. Functionally, it allows the dough to expand and rise evenly during baking, preventing it from cracking in undesirable places. A sharp knife or bread lame is ideal for this task. Decorative scoring patterns, like a simple cross or intricate leaf shapes, can also enhance the visual appeal of your bread. Just be sure to score your dough gently—pressing too hard could deflate it.
8. Use a Proofing Basket for Better Shape
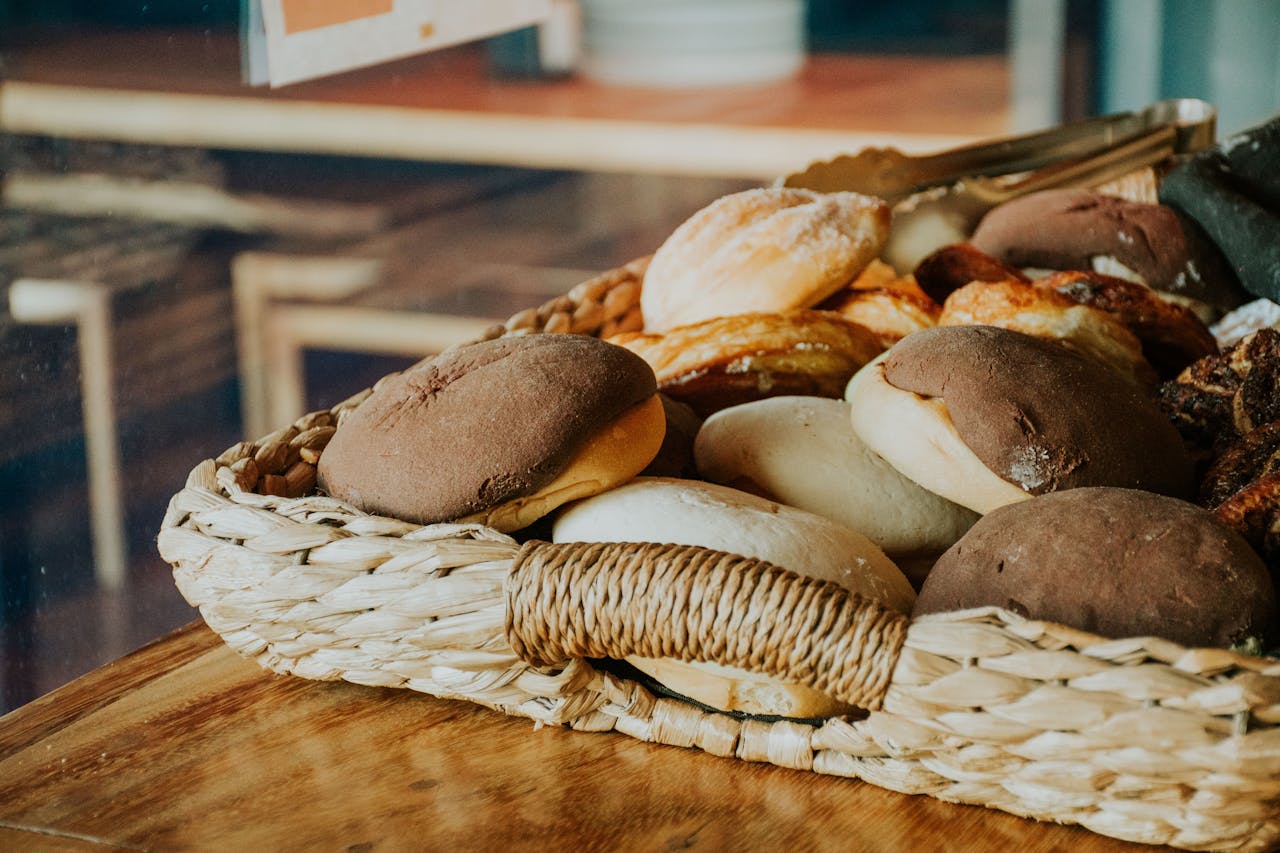
A proofing basket (also called a banneton) is a wonderful tool for shaping and supporting your dough as it rises. These baskets help your bread hold its shape and develop beautiful ridges. If you don’t have a proofing basket, you can also use a bowl lined with a clean kitchen towel dusted with flour. After the final rise, gently transfer the dough from the basket or bowl to your baking surface to avoid deflation.
9. Preheat Your Oven Properly
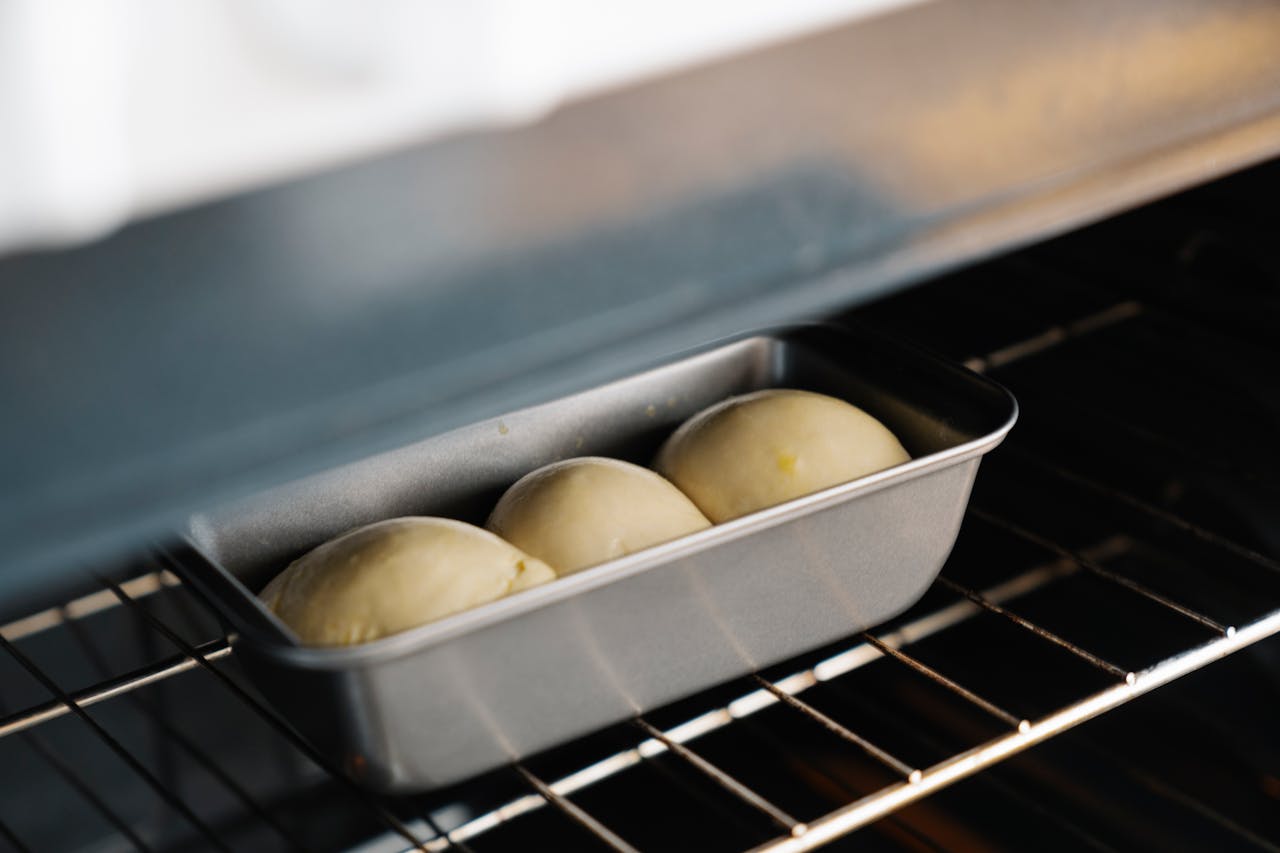
Properly preheating your oven ensures that your bread bakes at the right temperature from the moment it goes in. Many people make the mistake of not allowing enough time for the oven to reach its full heat before putting the dough inside. This can lead to uneven baking and poor oven spring. Preheat your oven for at least 30 minutes, especially if you’re using a baking stone or a Dutch oven. Once the oven is properly heated, you can be confident that your bread will bake evenly and achieve that perfect rise.
10. Let Your Bread Cool Before Slicing
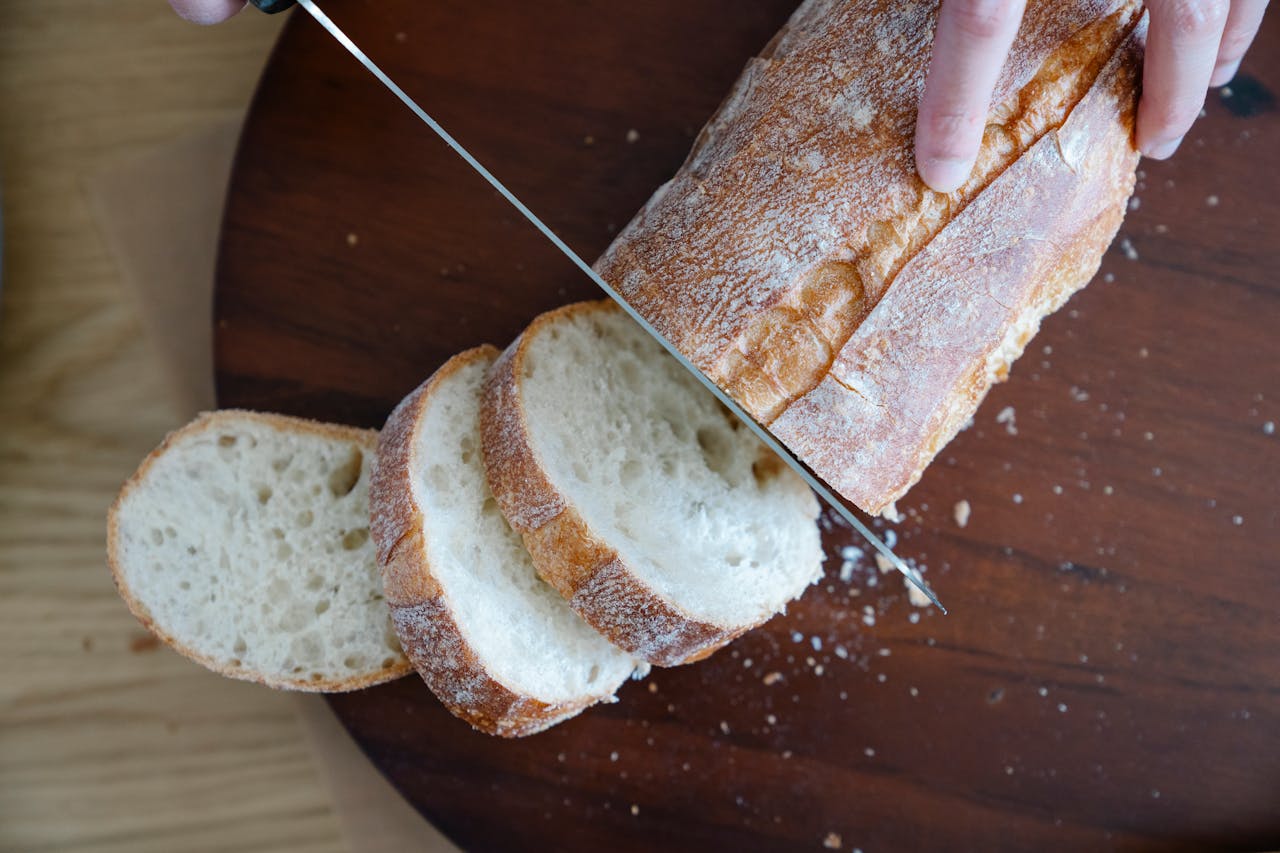
While it’s tempting to slice into your freshly baked loaf as soon as it comes out of the oven, it’s important to let it cool down first. Cutting into the bread while it’s still hot will result in a gummy texture, as the interior hasn’t had time to fully set. Let your bread cool for at least 30 minutes on a wire rack before slicing. This cooling period allows the bread to firm up and develop its full flavor. Plus, it’ll make the slicing process much easier.
Final Thoughts
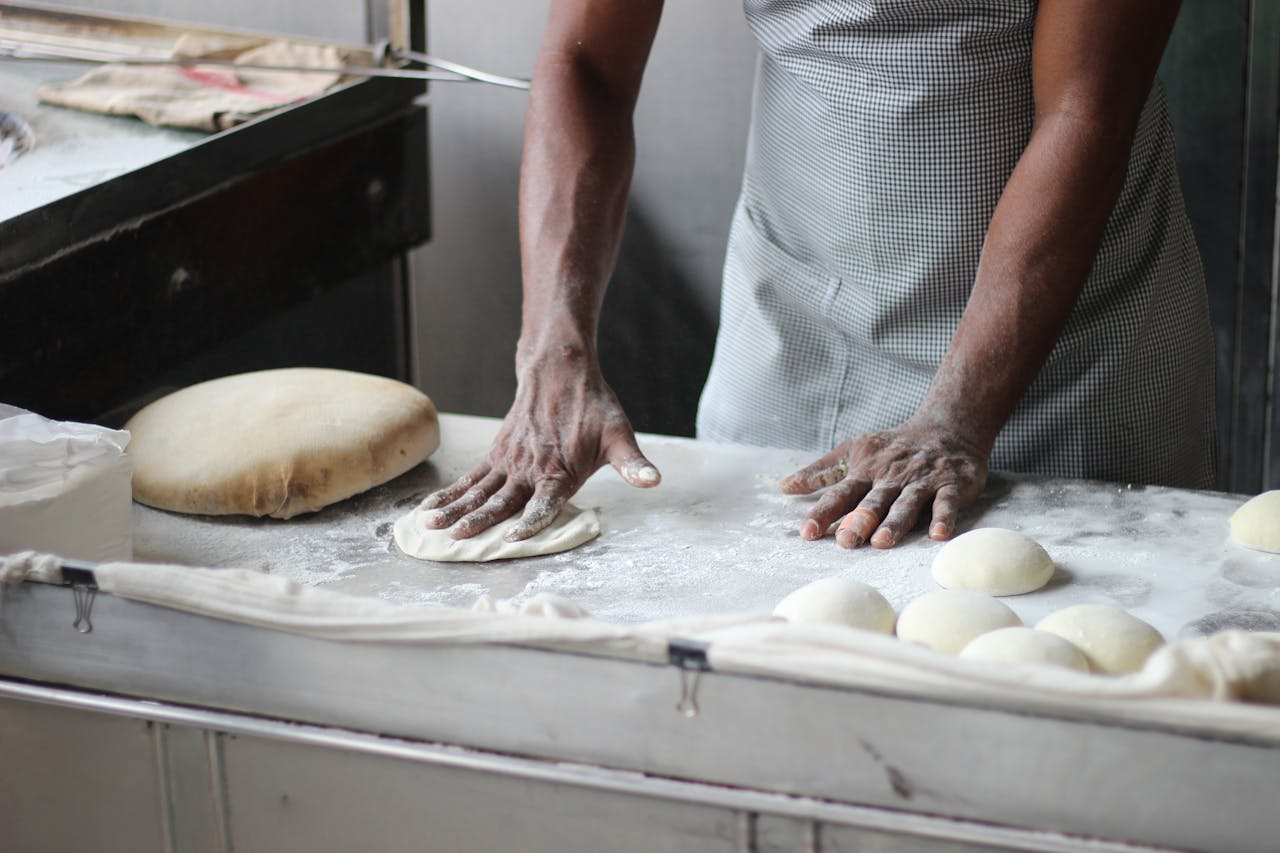
Baking bread at home doesn’t need to be a daunting task. By following these 10 simple tricks, you can create bread that rivals what you’d find at a bakery, all with just a few ingredients and a little time. Whether you are baking for yourself or sharing with friends and family, homemade bread is a rewarding treat that’s worth the effort. Remember to practice patience, and soon you’ll be the proud baker of perfect loaves every time. Happy baking!
Leave a Reply